UltimaSerial


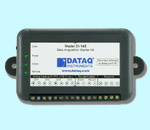
DI-160 is an Event, State and Count Data logger, or simply called an Event Recorder, that usually records data to SD only
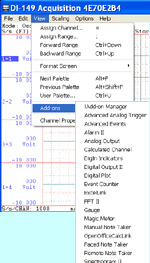
Sometimes, it is more desirable to record data (events) to PC's hard drive instead. To do so, we will use an utility called PuTTY from the public domain.
Here is the procedure
- Run DI-160's configuration program and set up the device according
to your application
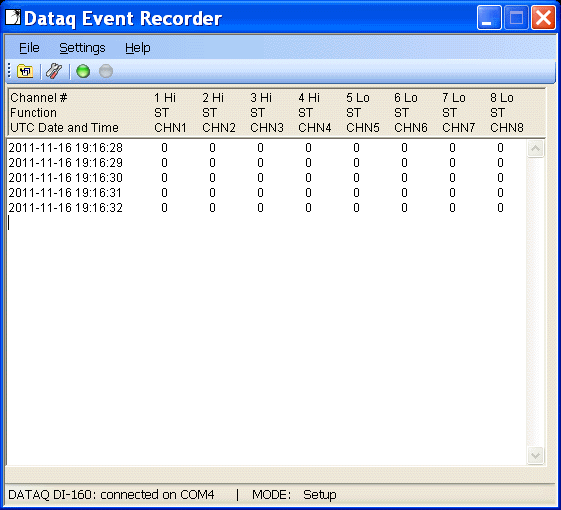
- Exit the configuration program. The configuration is now saved to the non-volatile memory of DI-160, and the real-time clock will be correct.
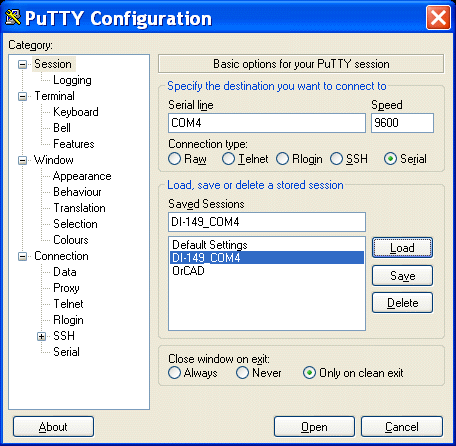
- Whenever you need to record data to PC's hard drive, run PuTTY and open the same COM port assigned to DI-160.

- You don't need to repeat step 1 and 2 unless you need to change the channel settings
- Warning: DI-160's internal battery keeps the real time clock running. If it is drained out totally, the time stamp will be wrong in the following steps.
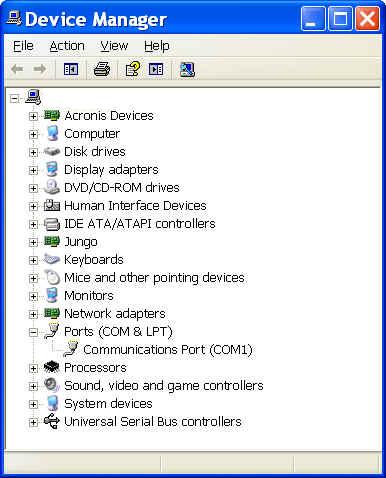
- To locate the COM port, please use Window's Device Manager
- If you wish to save time in the future, you may save the
configuration for easy reload next time
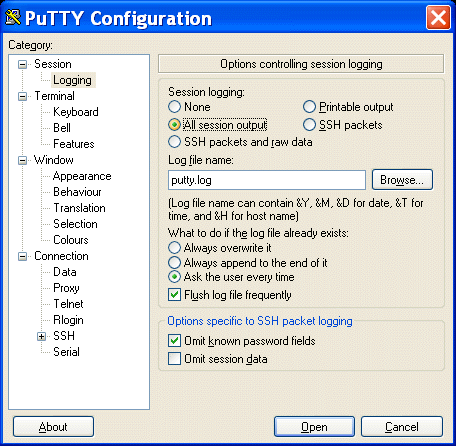
- If you wish to save all the readings to a log file, which can be
opened easily by EXCEL, please configure the logging option
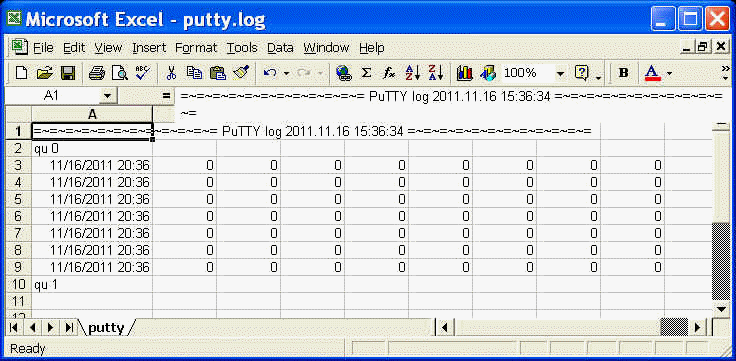
- Enter command "qu 0" , then press RETURN key to start to receive the data stream
- PuTTY displays the data stream and record to the log file specified in step 5
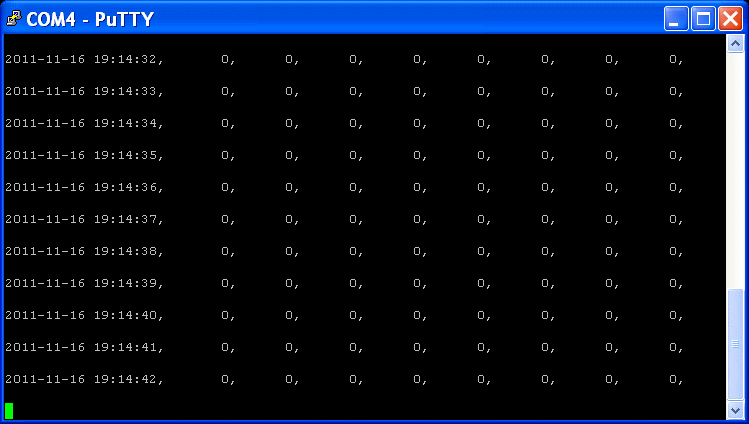
- Enter command "qu 1" , then press RETURN key to stop receiving the data stream
- To review the log file under Microsoft Excel
- It is not desirable to use Microsoft Excel to open the log file directly. Because DI-160's output use comma-AND-tab to separate the fields, every cell is treated as TEXT instead of number .
- To generate a more number-friendly spread sheet,
please configure Excel in the following steps
- Check Delimited
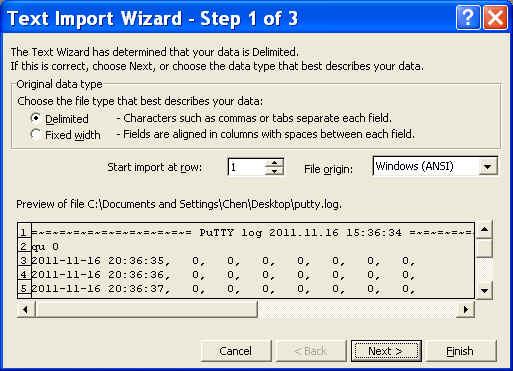
- Check both Tab and Comma as Delimiters, also check
"Treat consecutive delimiters as one"
- Press Finish and here it is
- Check Delimited